3D Printer Print Bed Overview

The print bed, also referred to as the build surface, is a crucial component of any 3D printer. A effective print bed will give you consistent results, while an ineffective or improperly set up bed will cause frequent print failures. In this article, we will explore and compare the various print bed materials found on consumer 3D printers, discussing the effectiveness of each material and providing tips to optimize your print bed’s performance.
The primary function of the print bed is to ensure proper adhesion for the first layer of your 3D print, which helps keep the object in place as new layers are added. Additionally, you need to be able to easily remove parts from the bed once the print is complete without damaging either the printed model or the print bed. A durable bed surface is also desirable, so that your print bed will remain effective even after many prints. Different bed materials exhibit unique properties, so understanding the performance of the print bed material on your printer is vital.
Various bed materials are available in the market today, each with its own advantages and disadvantages. Familiarizing yourself with these materials is a good idea before choosing a 3D printer. If you already own a printer, you may be able to improve its performance and reliability by upgrading the bed to one of the higher-end options discussed here.
Bed Materials
Rigid Textured Film
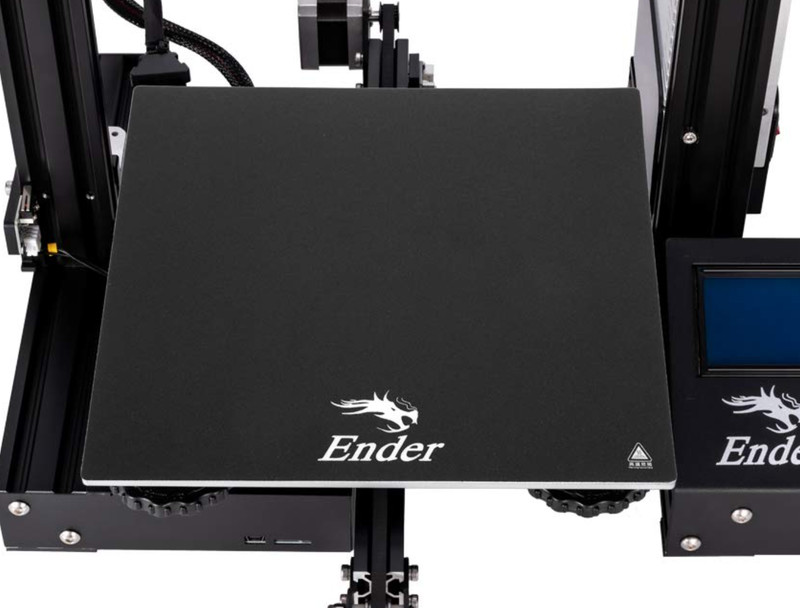
Rigid textured film beds have a black appearance with a rough texture to enhance adhesion. This material is similar to BuildTak and is primarily found on budget 3D printers such as the original Creality Ender 3. While this surface offers good adhesion, it has two main downsides. First, it’s usually difficult to remove parts from this bed type once the print is complete. Second, it’s challenging to replace the bed if the surface gets damaged. Since the surface is a coating attached to the metal base with adhesive, it is relatively easy to damage, so avoid using metal tools such as a putty knife for part removal.
As print removal is the primary challenge with these beds, avoid starting your first layer too close to the bed when printing onto a rigid textured film bed. Printing too close to the bed causes the 3D print to stick too strongly to the bed, increasing the risk of bed damage when removing the part and making the part difficult to remove.
In terms of maintainance, you can enhance the bed adhesion on this style of bed by cleaning it with isopropyl alocohol.
Overall, we have found rigid textured film beds to be challenging to work with and easy to damage. We recommend upgrading the bed to a more premium material, and avoiding this bed material when purchasing a new 3D printer since they are generally harder to use. Fortunately, these beds are not common on modern 3D printers.
Flexible Magnetic Textured Film
This bed material is similar to the rigid textured film, but the bed surface can be removed after the print is complete to aid in part removal. The bed surface is also flexible, allowing you to bend it away from the completed print. This type of bed is mostly found on lower-cost 3D printers, such as the Creality Ender 2 Pro.
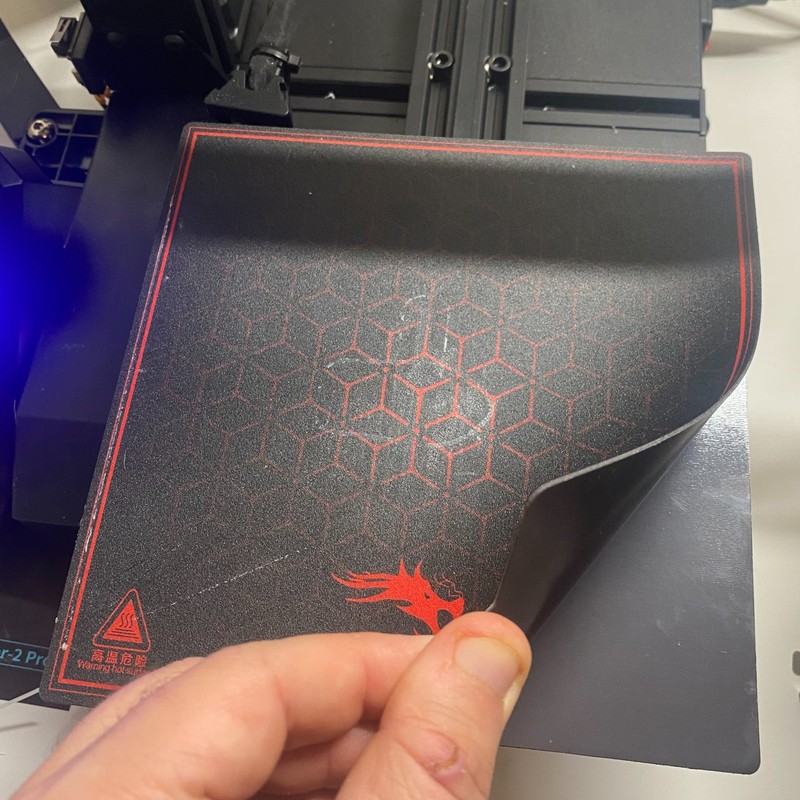
While this material is a slight improvement over textured film, part removal can still be difficult since the bed easily folds, which can make it hard to get a grip on the print. The bed surface can be easily damaged when parts adhere too well. Additionally, thin extrusions like skirts or priming lines bend with the bed rather than popping off, making them hard to remove.
Due to these limitations, we don’t feel that this type of bed offers significant advantages over the rigid textured bed. We don’t recommend it as an upgrade option, and if you own a 3D printer with this material, we would recommend upgrading to a different print bed material.
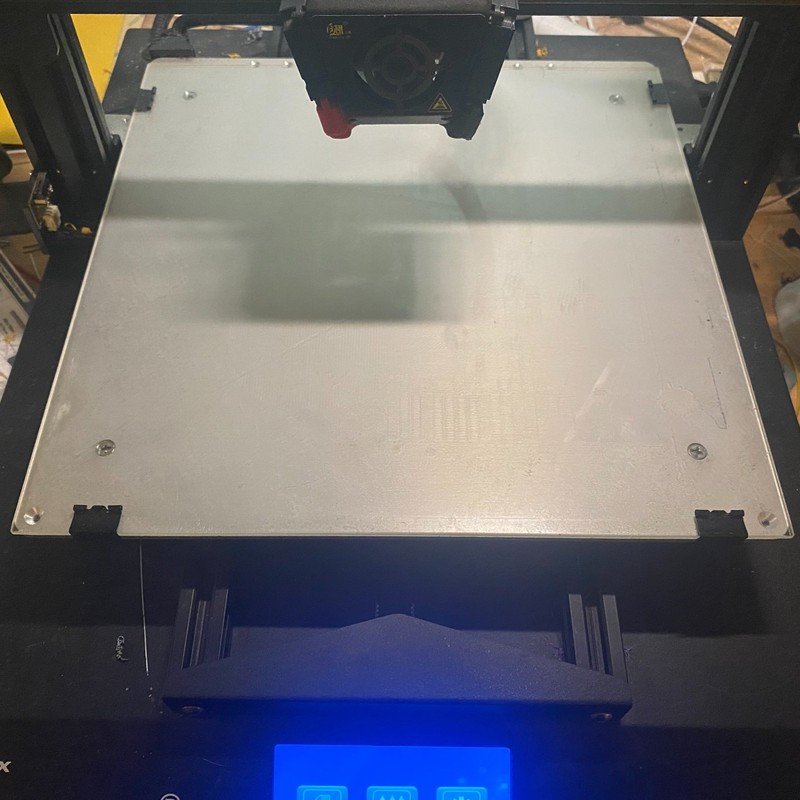
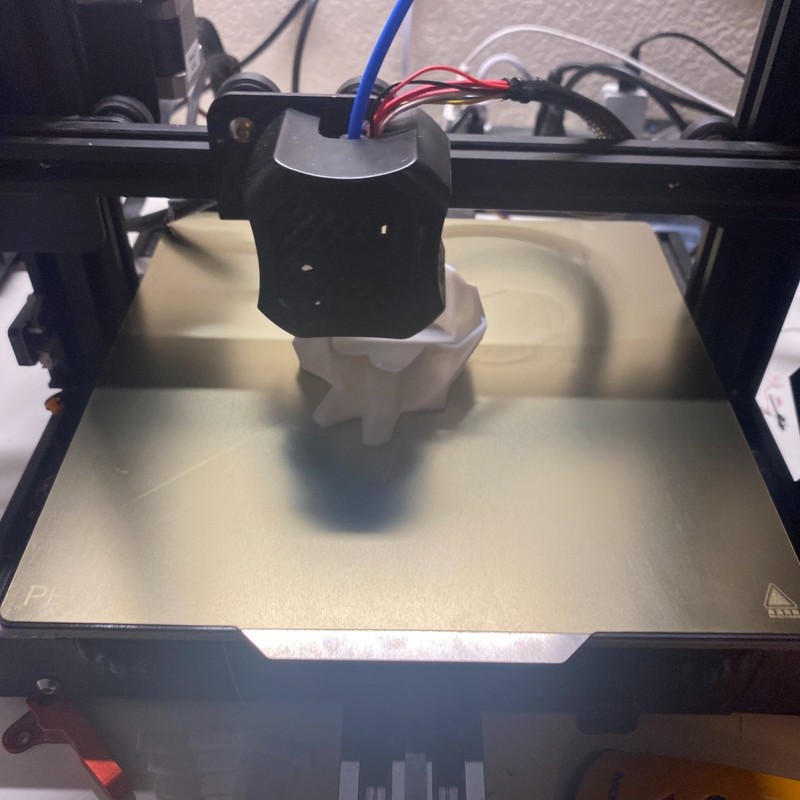
Borosilicate Glass
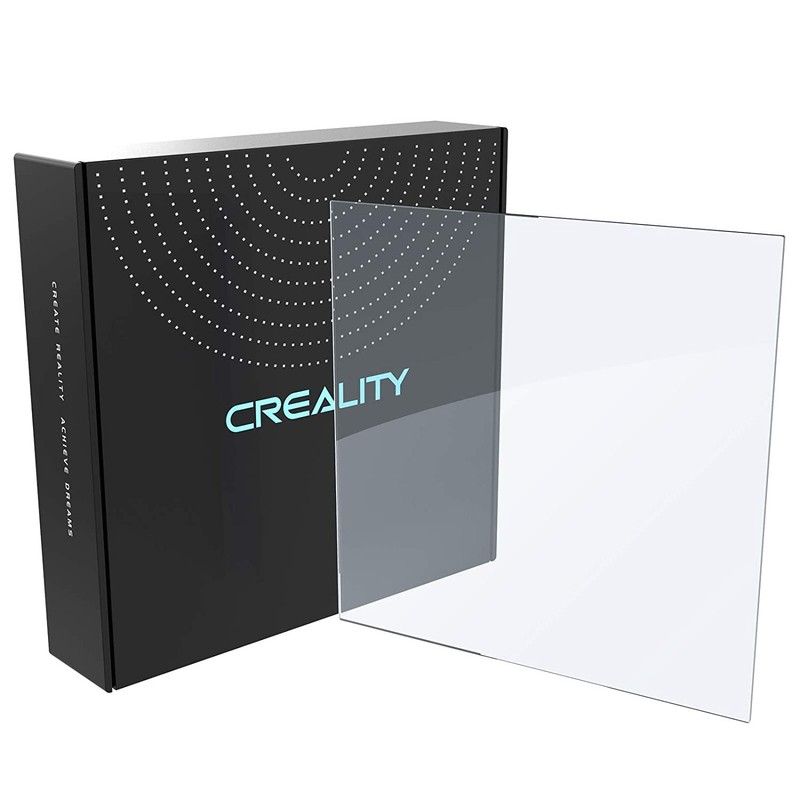
Borosilicate glass is a simple bed material, but it has numerous benefits that make it an excellent print surface. The term “borosilicate” refers to the use of boron trioxide as an additive, which increases the glass’s tolerance to temperature changes. Unlike either of the extured film surfaces described above, glass adhesion significantly decreases when the bed cools, making part removal much easier. Glass is also highly resistant to damage, allowing for the use of metal part removal tools or even chisels. Another advantage of glass is the smooth, glossy appearance it gives to the bases of your 3D prints.
Achieving good adhesion on glass can be slightly more challenging, and you’ll need to apply a coating such as hairspray or a glue stick for optimal results. We’ve consistently achieved good results using AquaNet Hairspray(this is an Amazon link, but you can also find this at your local store), which we apply in a thin layer every 10-20 prints or when adhesion becomes problematic.
Periodic bed cleaning may also be necessary, as hairspray can cause dust to accumulate on the bed, eventually reducing adhesion. The bed can be easily cleaned using standard glass cleaner and a paper towel.
Overall, borosilicate glass is an excellent print bed option, and you can find precut glass beds for different print bed sizes at relatively low prices online. It’s important to use borosilicate glass, as it can handle temperature changes from heating and cooling without cracking more effectively than tempered glass. Borosilicate provides superior temperature resistance, and we haven’t had any issues with these beds cracking even after many heating and cooling cycles.
Carborundum Glass
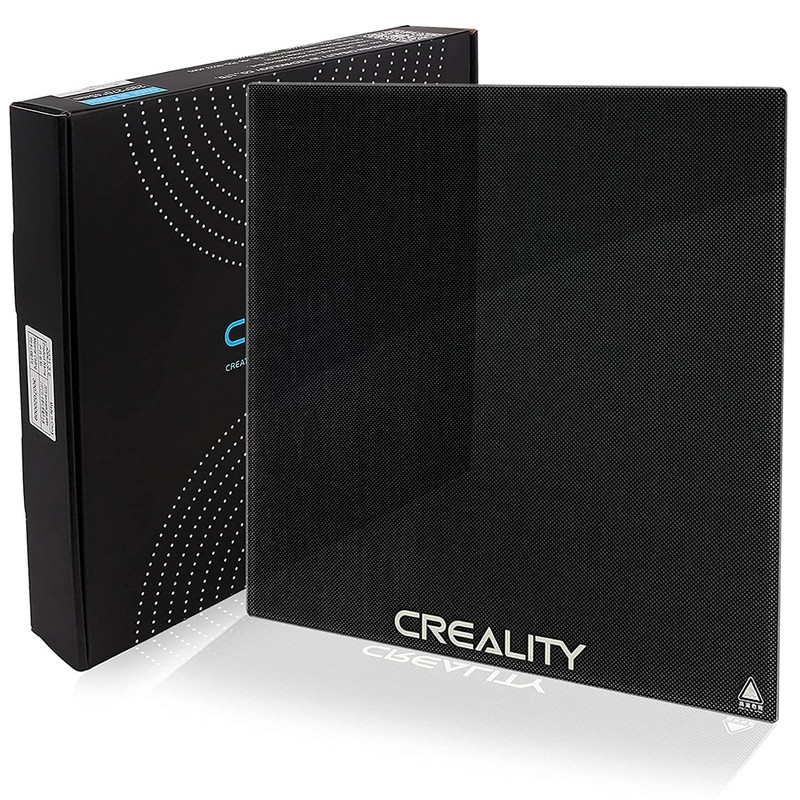
Although the name may be difficult to pronounce, carborundum glass beds work very well if properly maintained. “Carborundum” is a trade name for silicon carbide, which is used as a coating on these beds to improve adhesion. With a carborundum bed, you won’t need any additional adhesives like hairspray.
However, it is crucial to clean the bed with a damp cloth after every 5-10 prints to maintain adhesion. We weren’t aware of this for a long time and always ended up flipping these beds over to use the plain glass side with hairspray to improve adhesion. However, simply wiping the bed down with a wet cloth and then drying it will restore the excellent adhesion of these beds.
Carborundum glass is even better than standard glass for part removal. Generally, parts can be removed with just a light tap once the bed has cooled. After learning how to properly clean these beds, we now prefer them over borosilicate glass. The surface finish is not as smooth as borosilicate, but the superior adhesion without any hairspray more than compensates, making this bed material very easy to use.
These beds are somewhat more expensive than standard glass beds, but we believe they are worth the additional cost compared to borosilicate glass. Carborundum glass beds can be found in various sizes to fit your 3D printer. Ensure that you get the correct size for your specific printer model.
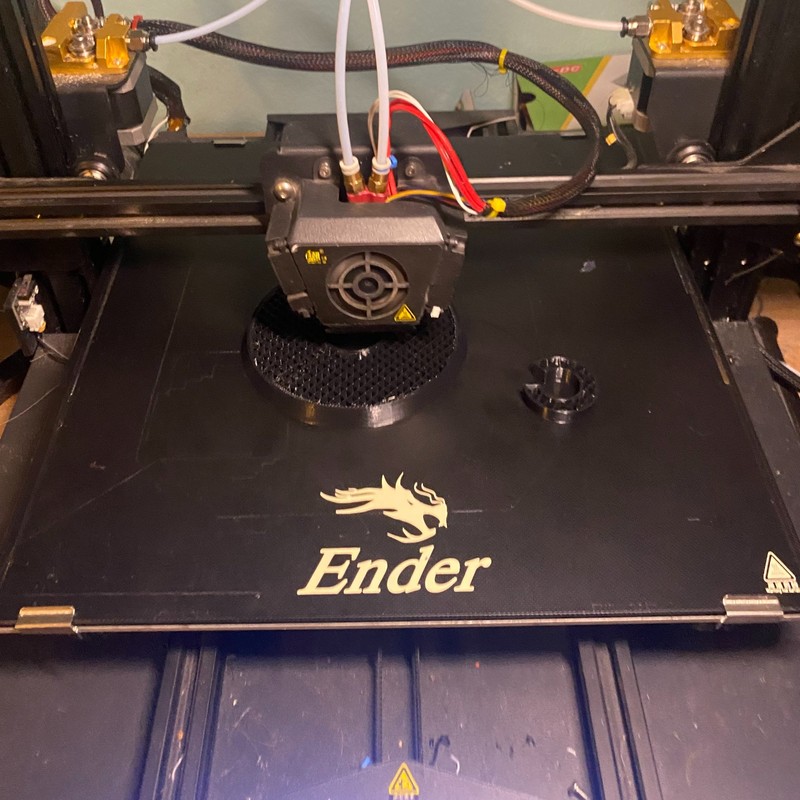
PC Spring Steel
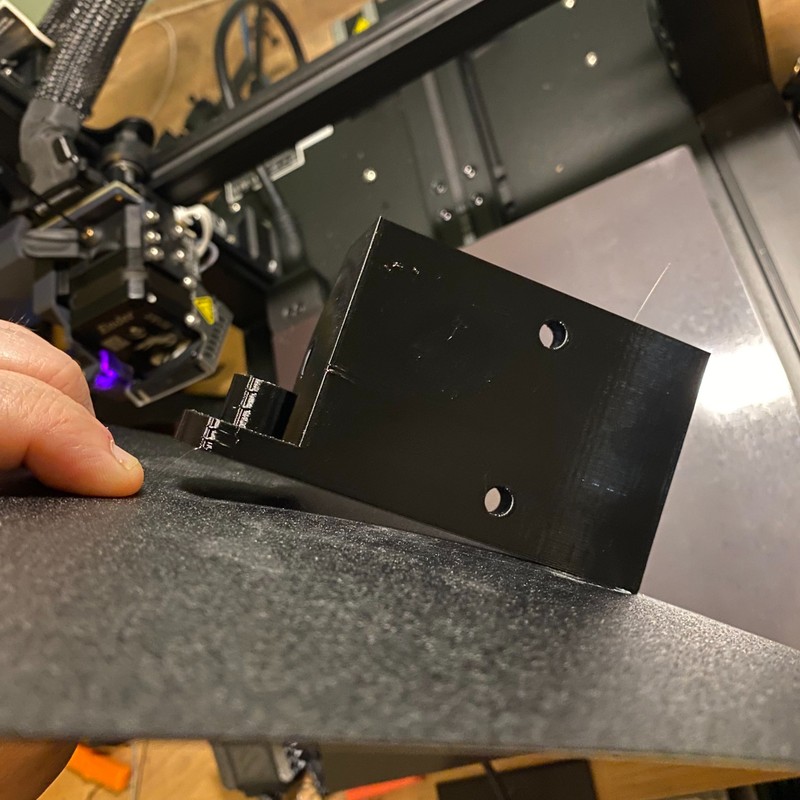
PC spring steel is a flexible steel bed with a PC coating on the bed surface. The PC coating provides very good adhesion and is similar to the textured film of the Ender 3 Pro and other similar 3D printers. It is also magnetic and can be removed and flexed to remove completed prints. The main advantage of spring steel is that the bed maintains some rigidity when removed and flexed, which makes removing the parts much easier. The more premium Creality Ender 3 S1 uses this bed material, and we had a good experience with it.
Combined with the extremely good adhesion, this bed is especially effective when printing parts that have intricate first layers. We have been printing parts onto a PC spring steel bed for a couple of weeks as of this writing and have not noticed any degradation in adhesion of the bed. We have not used any adhesives such as hairspray, and we haven’t cleaned the bed so far. The metal backing on this bed surface makes it significantly easier to remove parts than the ultra-flexible magnetic beds found on some lower-end printers.
Like the textured film beds, this material is easier to damage than some other options. If you are not careful and allow the nozzle to press into the bed surface due to an incorrect Z-offset setting, or if your print starts too close to the bed, it is possible to damage a PC spring steel bed.
Overall, we think that this is a good bed material. However, we wouldn’t recommend it as an upgrade if your printer doesn’t already have it due to our durability concerns with the material.
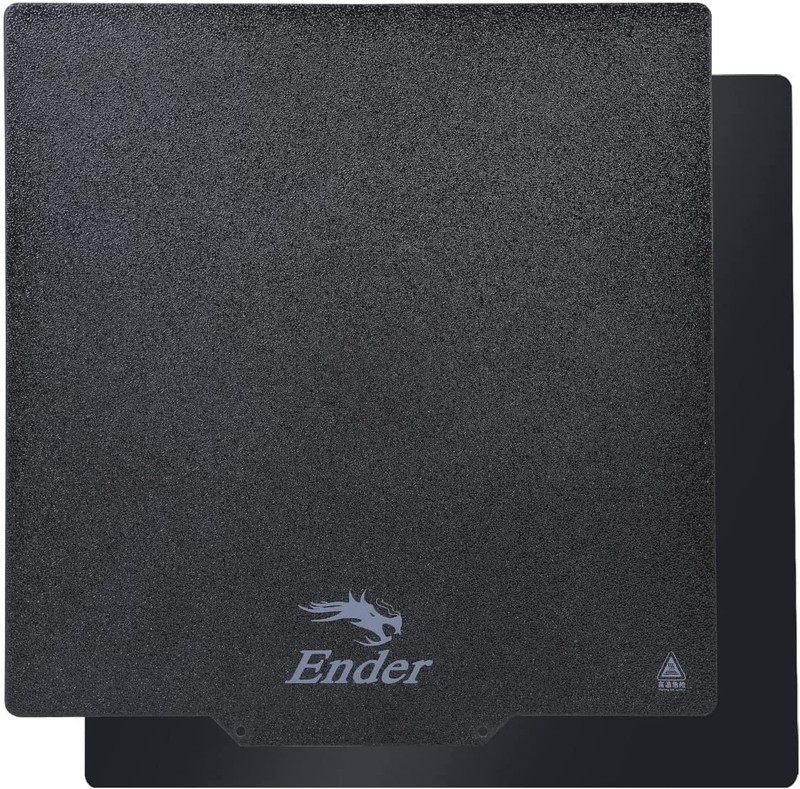
PEI Spring Steel
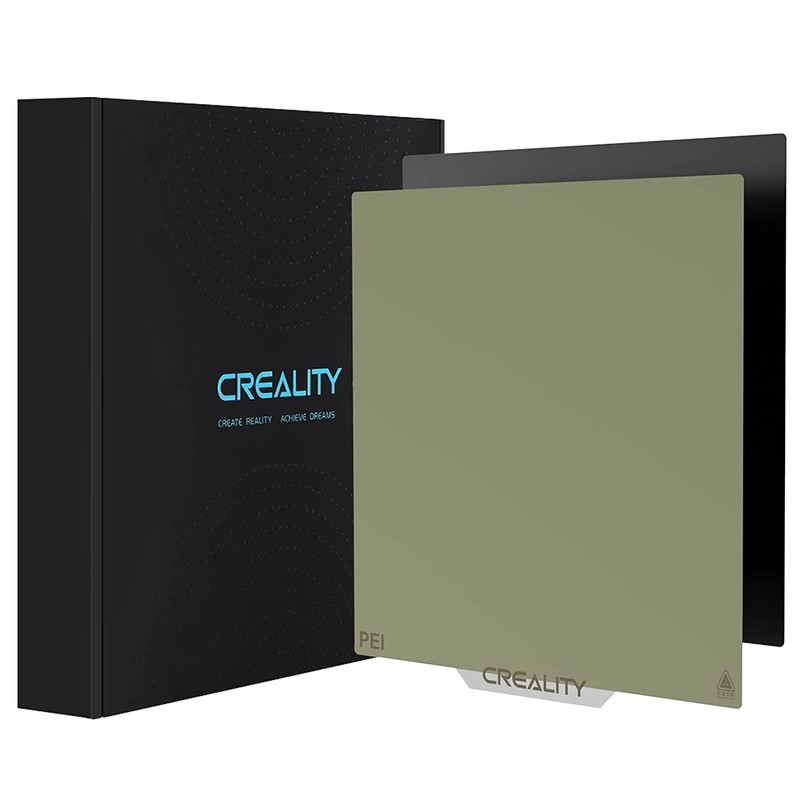
Similar to a PC steel bed, PEI spring steel is a removable magnetic bed surface that maintains some rigidity. The difference lies in the surface material, which is a thinner, smooth coating, and has a few advantages over PC:
- It’s much less susceptible to damage since it is a very thin coating rather than a separate surface attached to the steel, as the textured PC spring steel bed is.
- It’s smooth, like glass, and leaves a nice surface finish on prints similar to a glass bed.
Like PC, the PEI bed does not need any hairspray or other additional adhesive to be effective. It will lose adhesion over time, but you can easily restore the bed by wiping it down with acetone or isopropyl alcohol, which we typically do when we notice any adhesion issues.
Overall, we are really happy with the performance of PEI spring steel beds, especially on parts with small, intricate first layer details. These beds are on the more expensive side, which is why you’ll find them on more premium 3D printers like the Creality Ender 3 S1 Pro and higher-end models from Prusa.
Final Thoughts
Ultimately, the choice of print bed material comes down to your preferences and budget. While all of the materials discussed above have their pros and cons, borosilicate glass, carborundum glass, and magnetic flex build plates are the top three options we recommend for most users. Each of these materials offers improved adhesion, easier part removal, and better durability compared to textured film and thin plastic beds. Whichever bed material you choose, remember that maintaining and cleaning the surface is essential for consistent print quality and adhesion. It’s also critical to level the bed properly before printing.